

 Marcin Sągol
In this article, I'll describe our main goals, who participated in the initiative, and what we've achieved in the end. So, grab something to drink, sit back, and enjoy reading!
The Reasons Behind the Initiative
With each new release, TYPO3 evolves and aligns more closely with modern standards. It adds new functionalities desired by users and introduces improvements and updates to the user interface. Overall, TYPO3 continues to grow, providing increasingly powerful possibilities for developers, integrators, and editors. Thanks to its modularity and extensibility, TYPO3 remains an excellent choice for small, medium, and large projects.
However, one of the challenges new users often face with TYPO3 is its somewhat higher learning curve compared to similar products. This applies both to developers who are new to TYPO3 and users whose primary role is content management. The TYPO3 community has made significant progress over the past years, providing better and better documentation, standardizing code, simplifying testing processes, and improving the backend interface with proven solutions. But we believed there was room for one more addition - something to help new users become familiar with TYPO3 even faster...
The idea was to create an interactive guide for the TYPO3 backend. Its role was to provide a series of short tours that guide users through various parts (modules) of the TYPO3 backend, explaining their functionalities in a clear and simple way. An additional requirement was to allow developers to easily define their own tours for custom extensions. Such predefined tours would help new users quickly become familiar with the TYPO3 backend, serving as a great supplement to traditional documentation. The tours could also be used to introduce new features as they're implemented in the project.
The Implementation — First Steps
When the development began, it was important to establish clear naming conventions to communicate what the extension offered and how to identify its individual functionalities. The central term we chose was Guide, similar to a human guide you might hire. This Guide offers users various Tours they can take. As you explore the code, you'll frequently see references to these terms.
The feature is currently available as a standalone TYPO3 extension to make testing easier for users. The ultimate goal is to integrate this functionality into the TYPO3 Core - either as part of existing extensions or as a new extension under the TYPO3 vendor name.
Selecting the Base Library for Handling Tooltips
Since TYPO3 is an open-source project, it was important to avoid reinventing the wheel and select an existing open-source library as the core for rendering tour popups. We chose Driver.js because it's lightweight, feature-rich, extensible, and provided under the MIT license. However, it's important to note that there were several challenges integrating Driver.js due to TYPO3's use of iframes for rendering module content. Here, Mateusz Gdula from Macopedia made significant contributions. He created workarounds for correctly selecting target elements within iframes, positioning popups based on step configuration, and handled nearly all of the frontend integration. Great work, Mateusz, and thank you!
Configuration of Tours and Steps
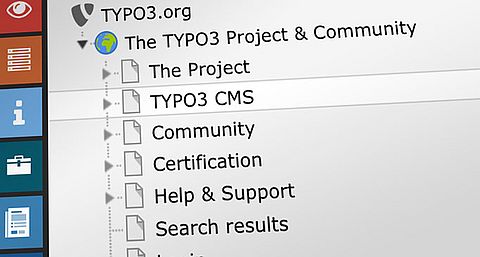
Next, we needed a way to configure tours and their steps. This was achieved by defining the configuration through the YAML files, which are stored within extensions in the Configuration/Tours folder. Using this approach, a single extension can provide multiple tours. Additionally, we introduced the option to mark each tour as either standalone or module-bound. Standalone tours are triggered automatically in the backend (if the user has access), while module-bound tours appear only when users navigate to the relevant backend module. The module-bound tours will likely be used more frequently. This concept is explained in greater detail in the documentation.
Each tour can have multiple steps. Each step is presented as a floating popup positioned next to a specific element. Steps have a title, content, a defined target element they're associated with, and optional JavaScript events. These events can be triggered when the popup appears or disappears. Additionally, a special set of events can be defined that users must perform before they can proceed to the next step. At the tour configuration level, it is also possible to specify the next tour (using its identifier) that should automatically start after the current one finishes. This allows creating a sequence or chain of tours. More details related to tours and steps configuration can be found in the documentation.


 Felicity Brand
 Mathias Bolt Lesniak